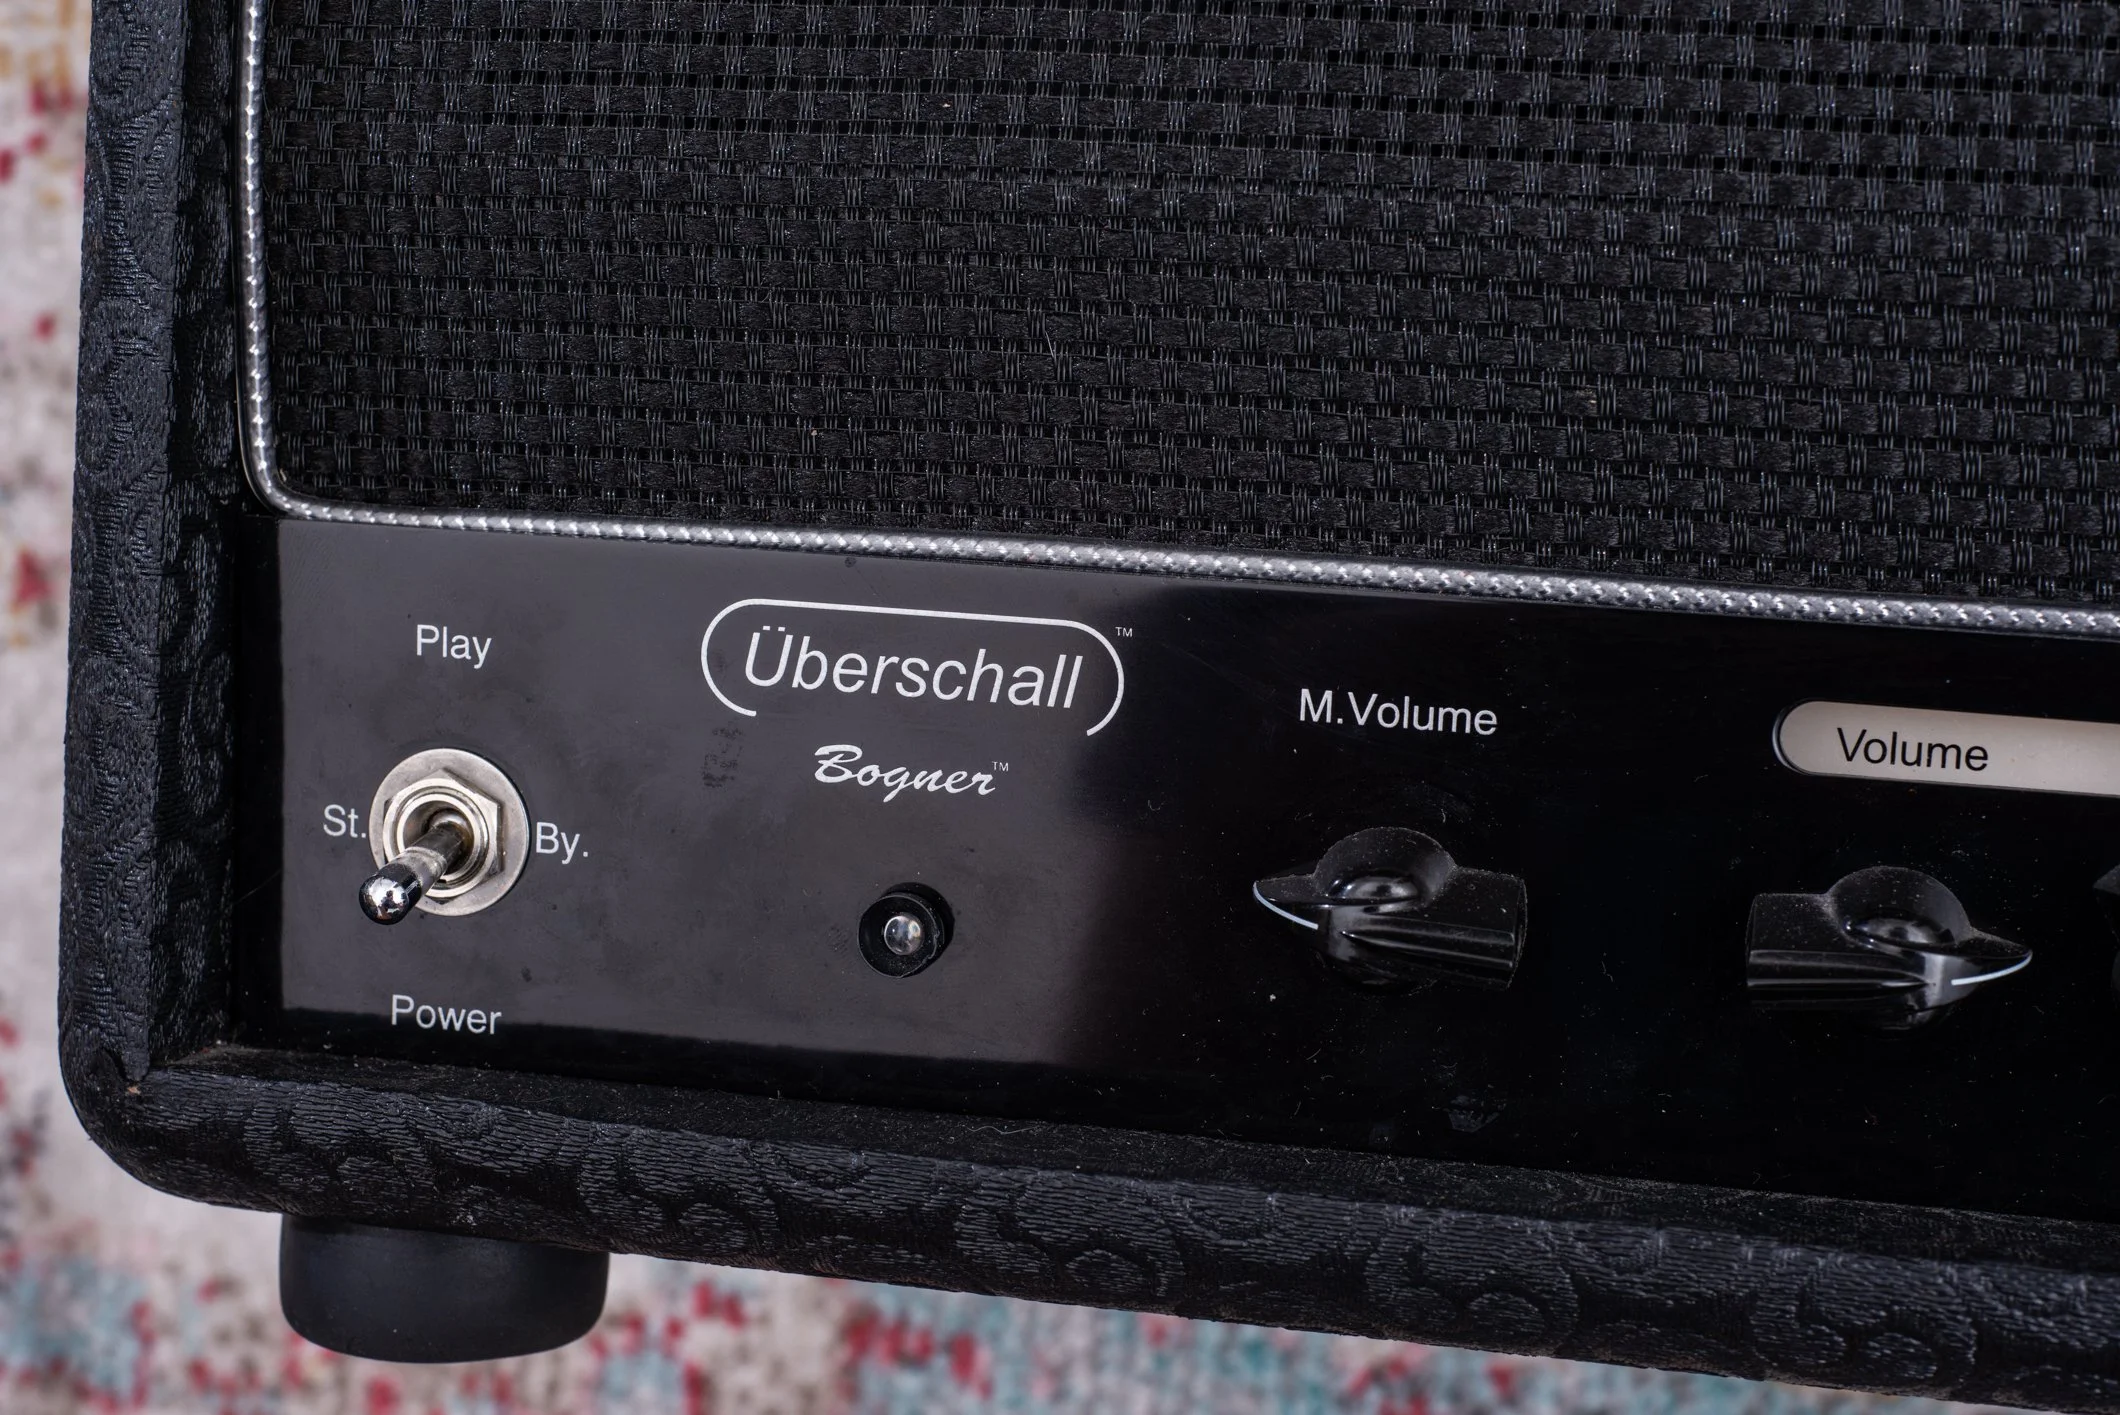
2011 Bogner Uberschall
Specs
2 Channels
120w Output
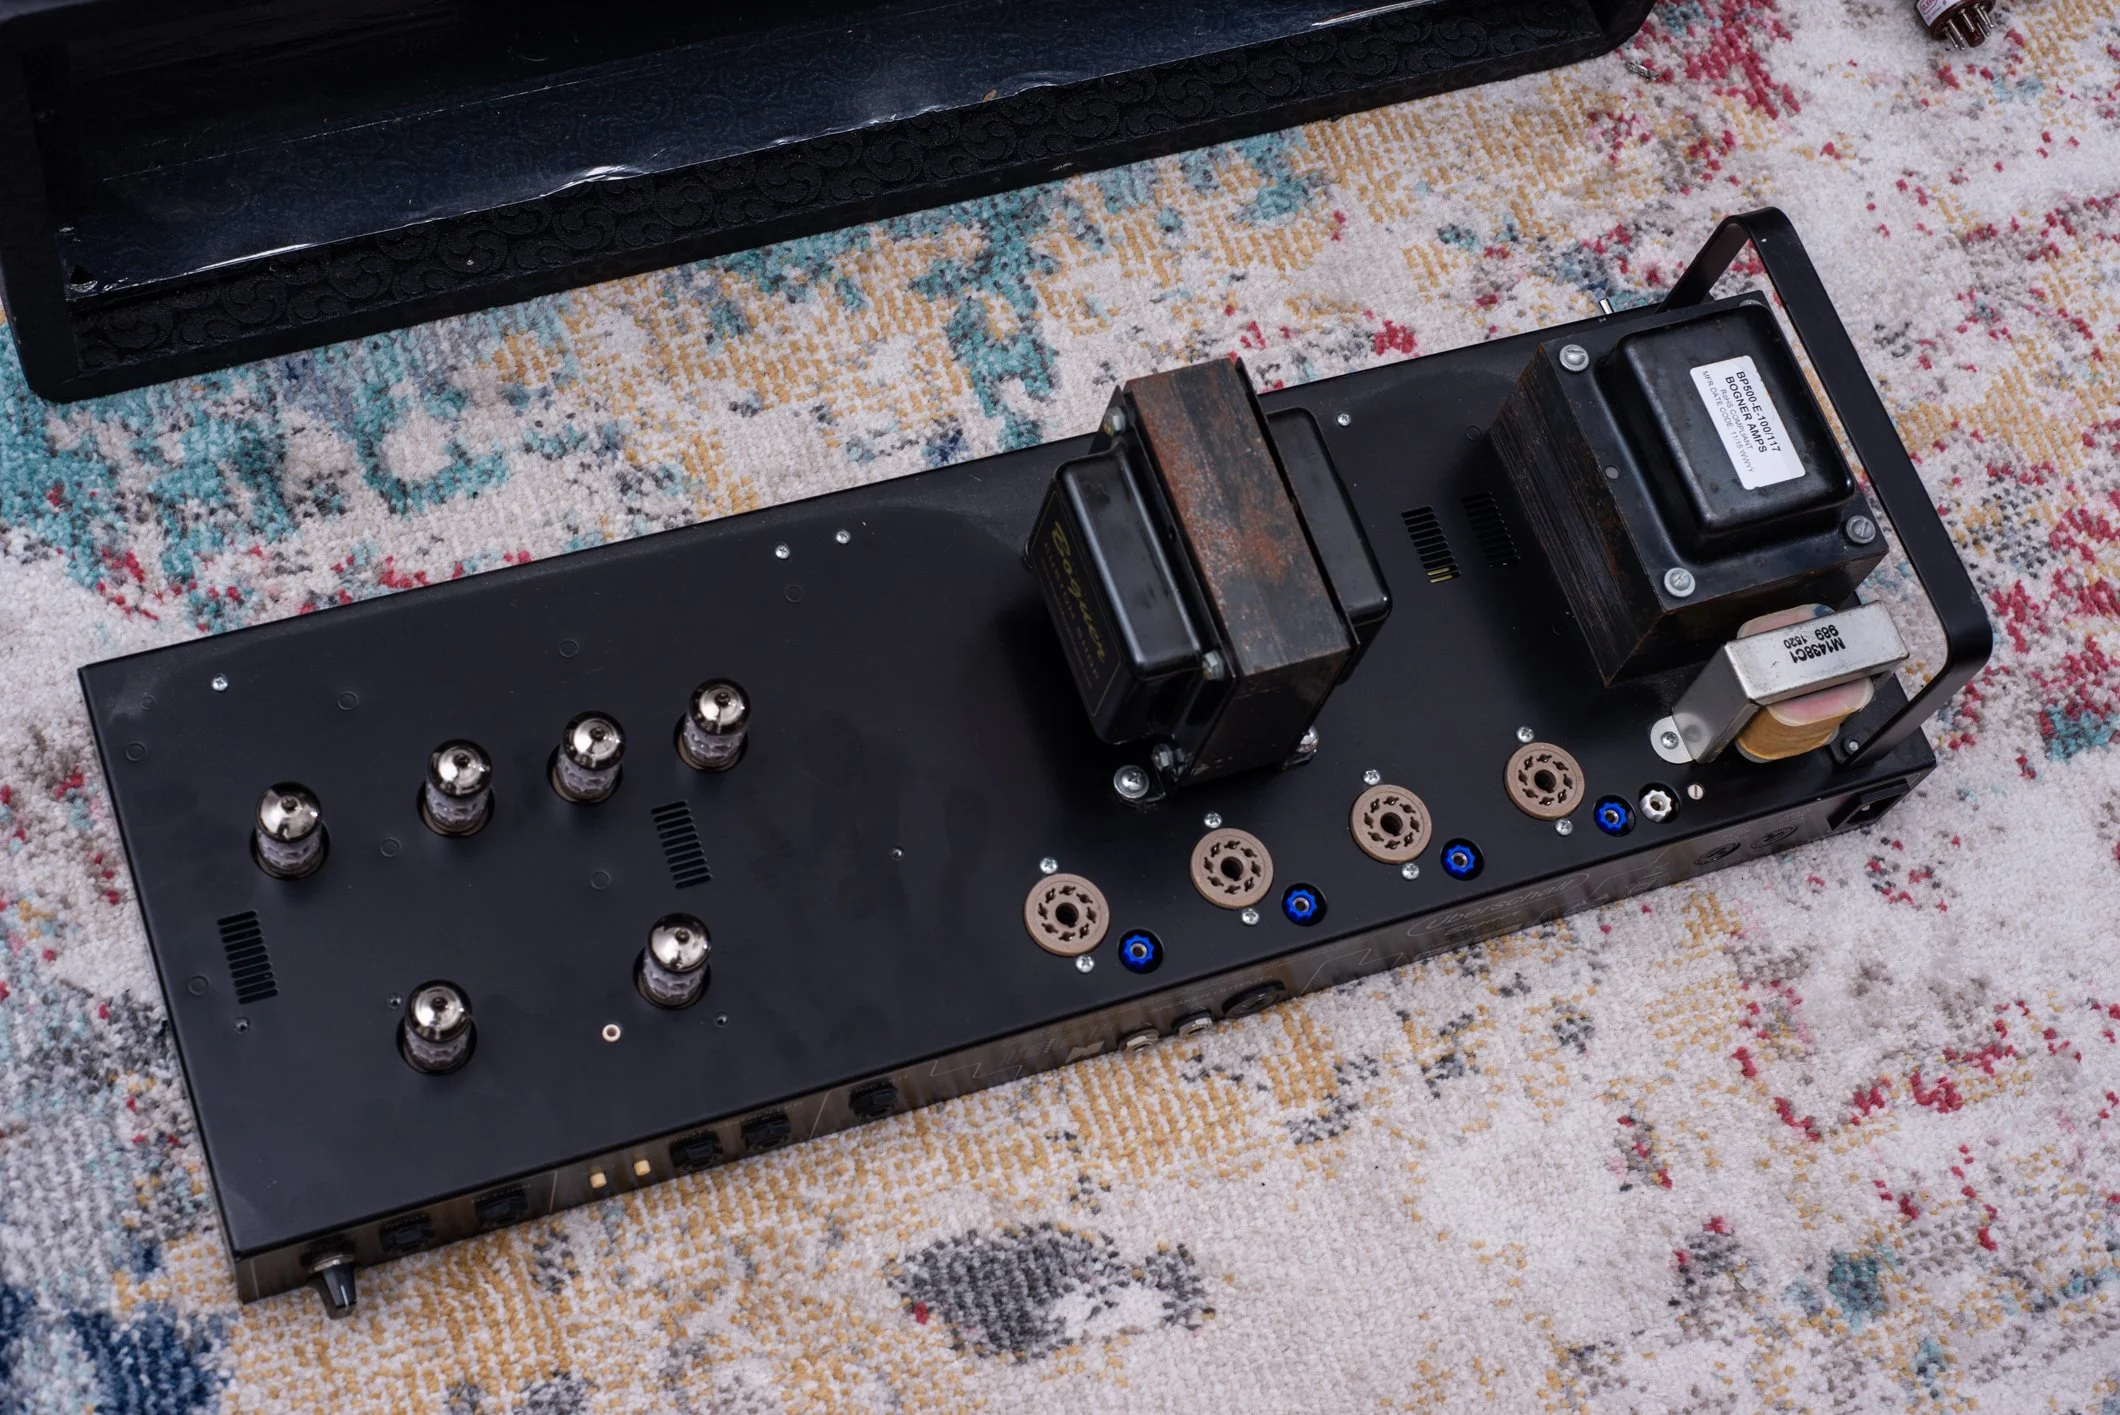
4x EL34 Power Tubes
6x 12AX7 Preamp tubes
$2389 in 2011
Overview
A heavy metal icon - the Uberschall. While it’s been used on tons of records, I always think of the Coheed and Cambria song “Welcome Home,” where you can even see two Uber’s with their Bogner names covered by black tape in the music video. These amps have a crushing, bass heavy metal tone while retaining a very clear low end for palm mutes and low-tuned guitars.
This is another amp where there’s not much to write about - it must be heard. The distortion tone is second to none at what it does and even without a boost it can do modern and with a little EQing, classic metal with ease. This amp also has a clean channel which is quite versatile and surprisingly smooth and clear for an amp otherwise focused on high gain.
I’ve had the “Twin Jet” version of this amp which has a crunch channel instead of a clean, but sadly I never got to compare that amp to this one because it arrived damaged, and that’s actually a tangent I want to follow here.
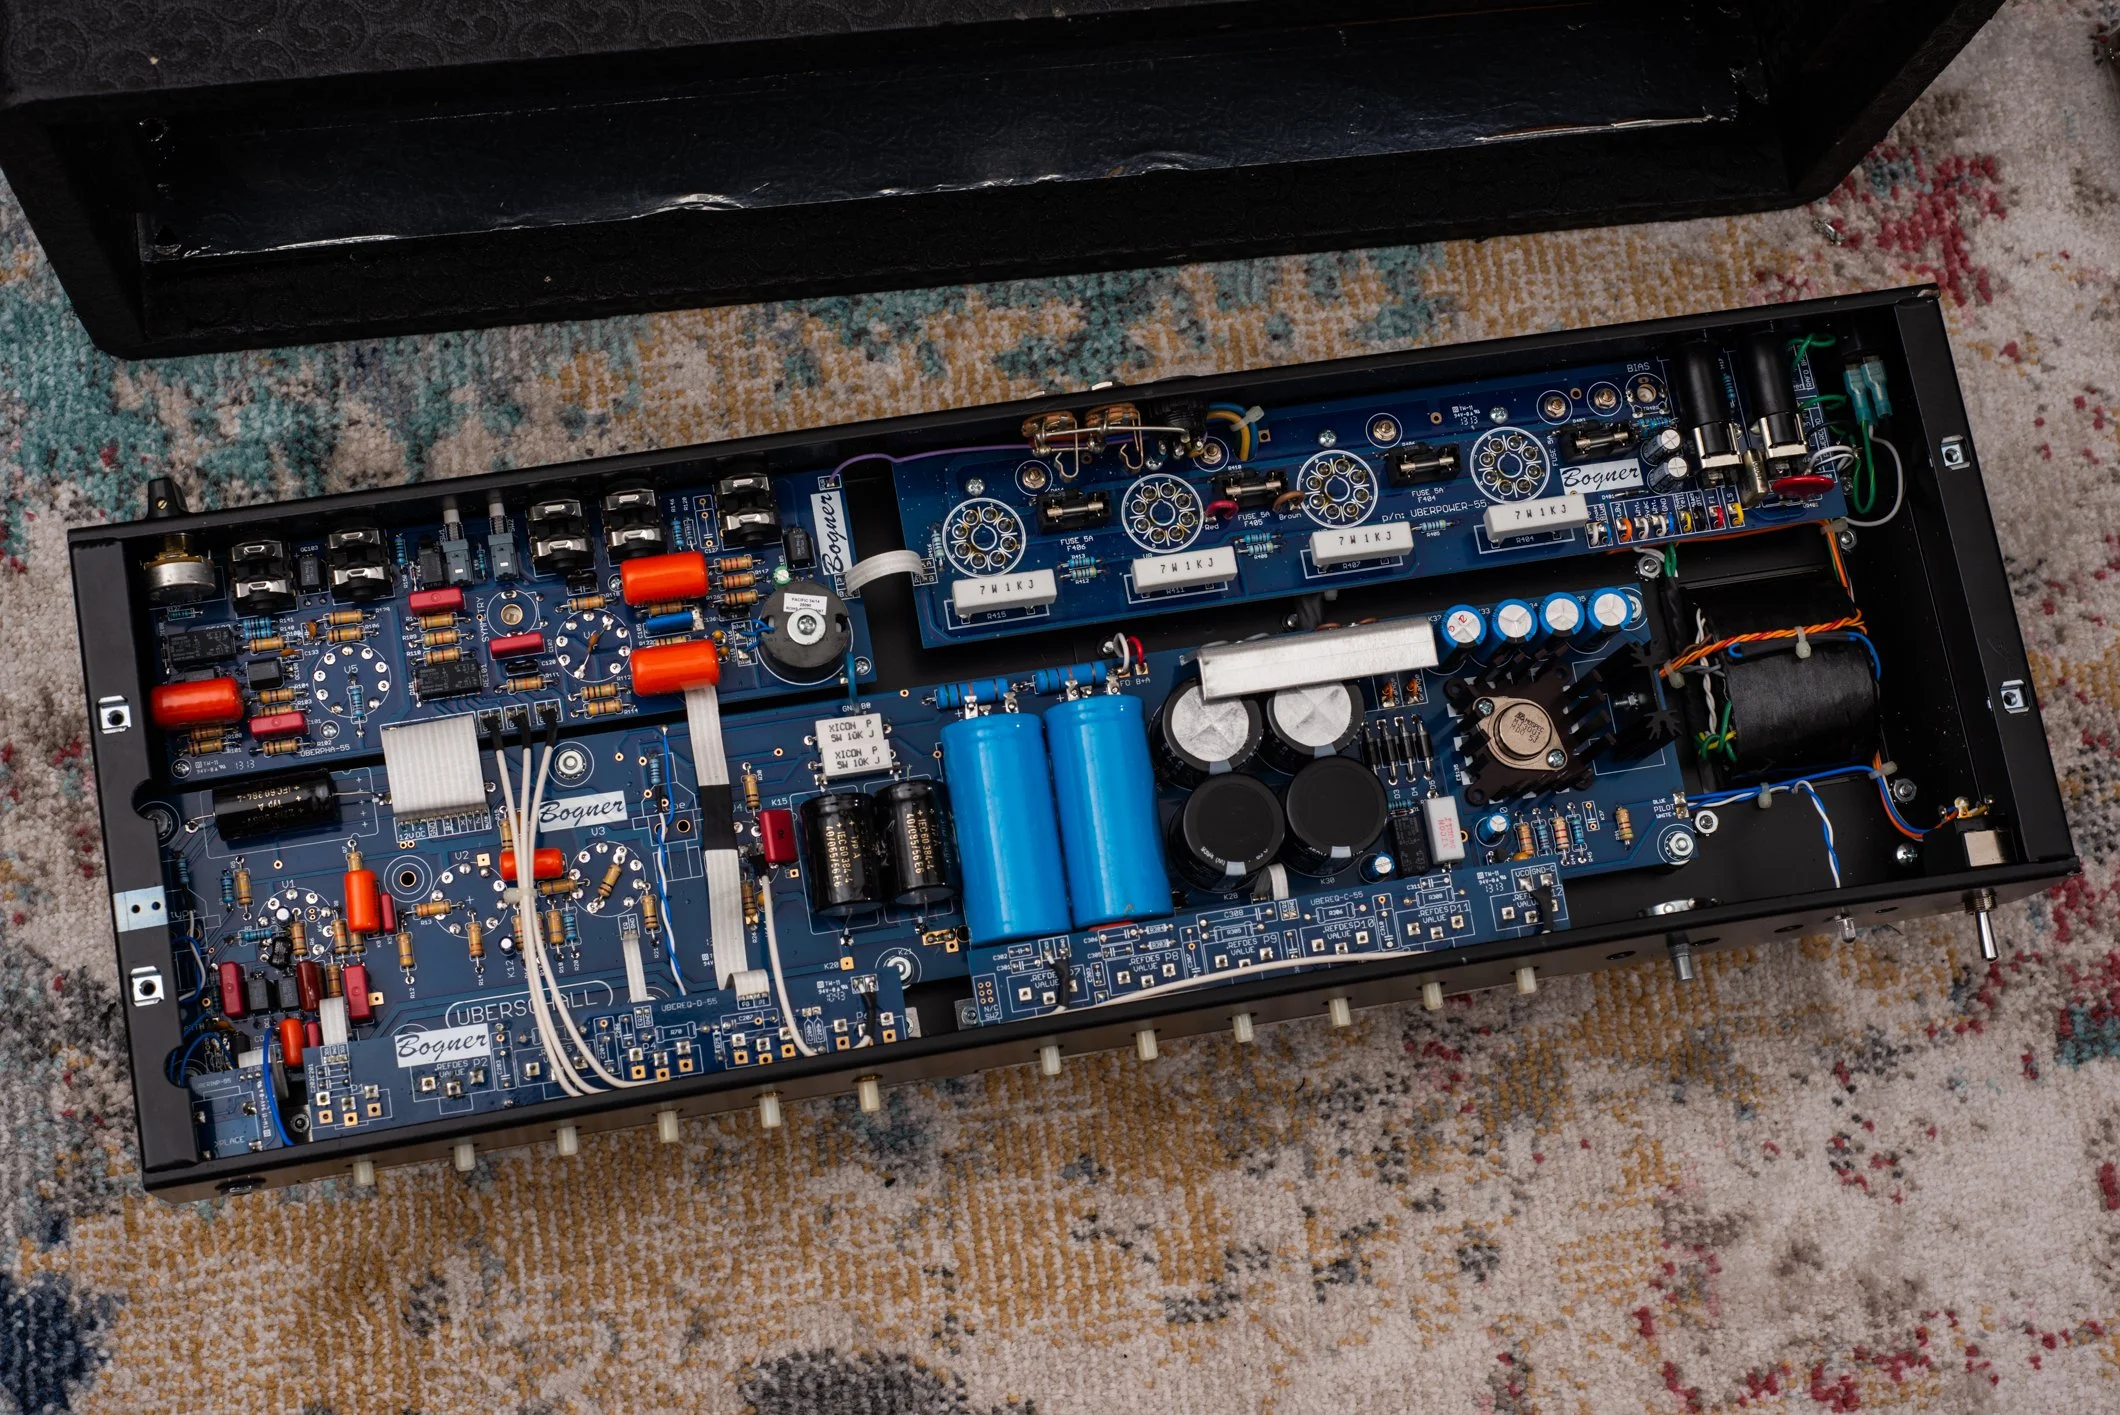
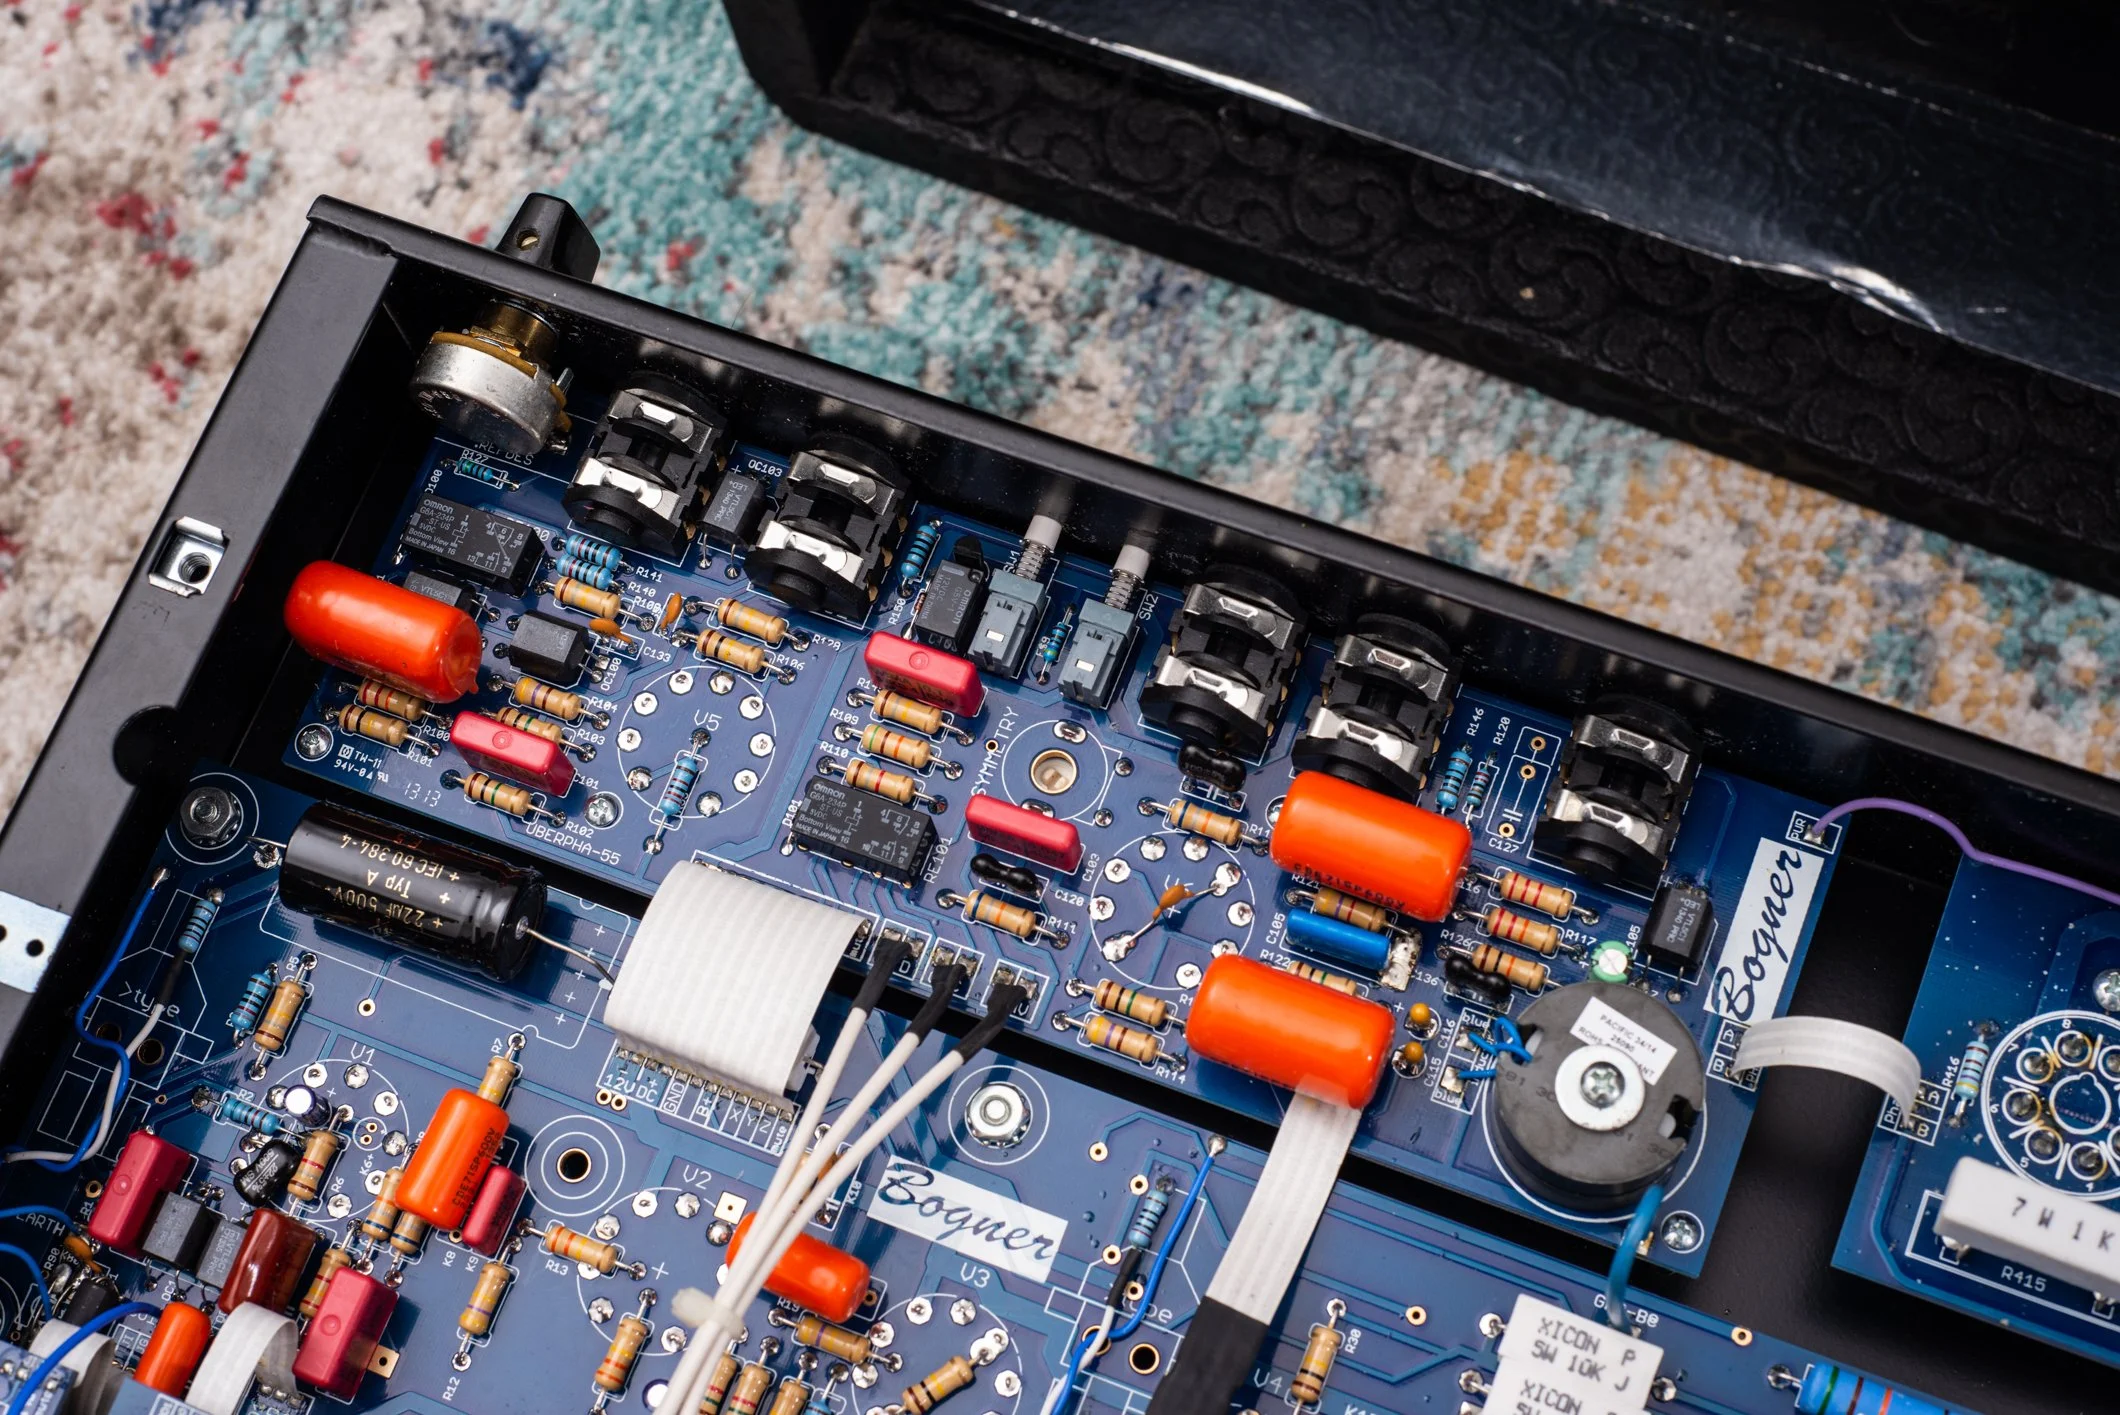
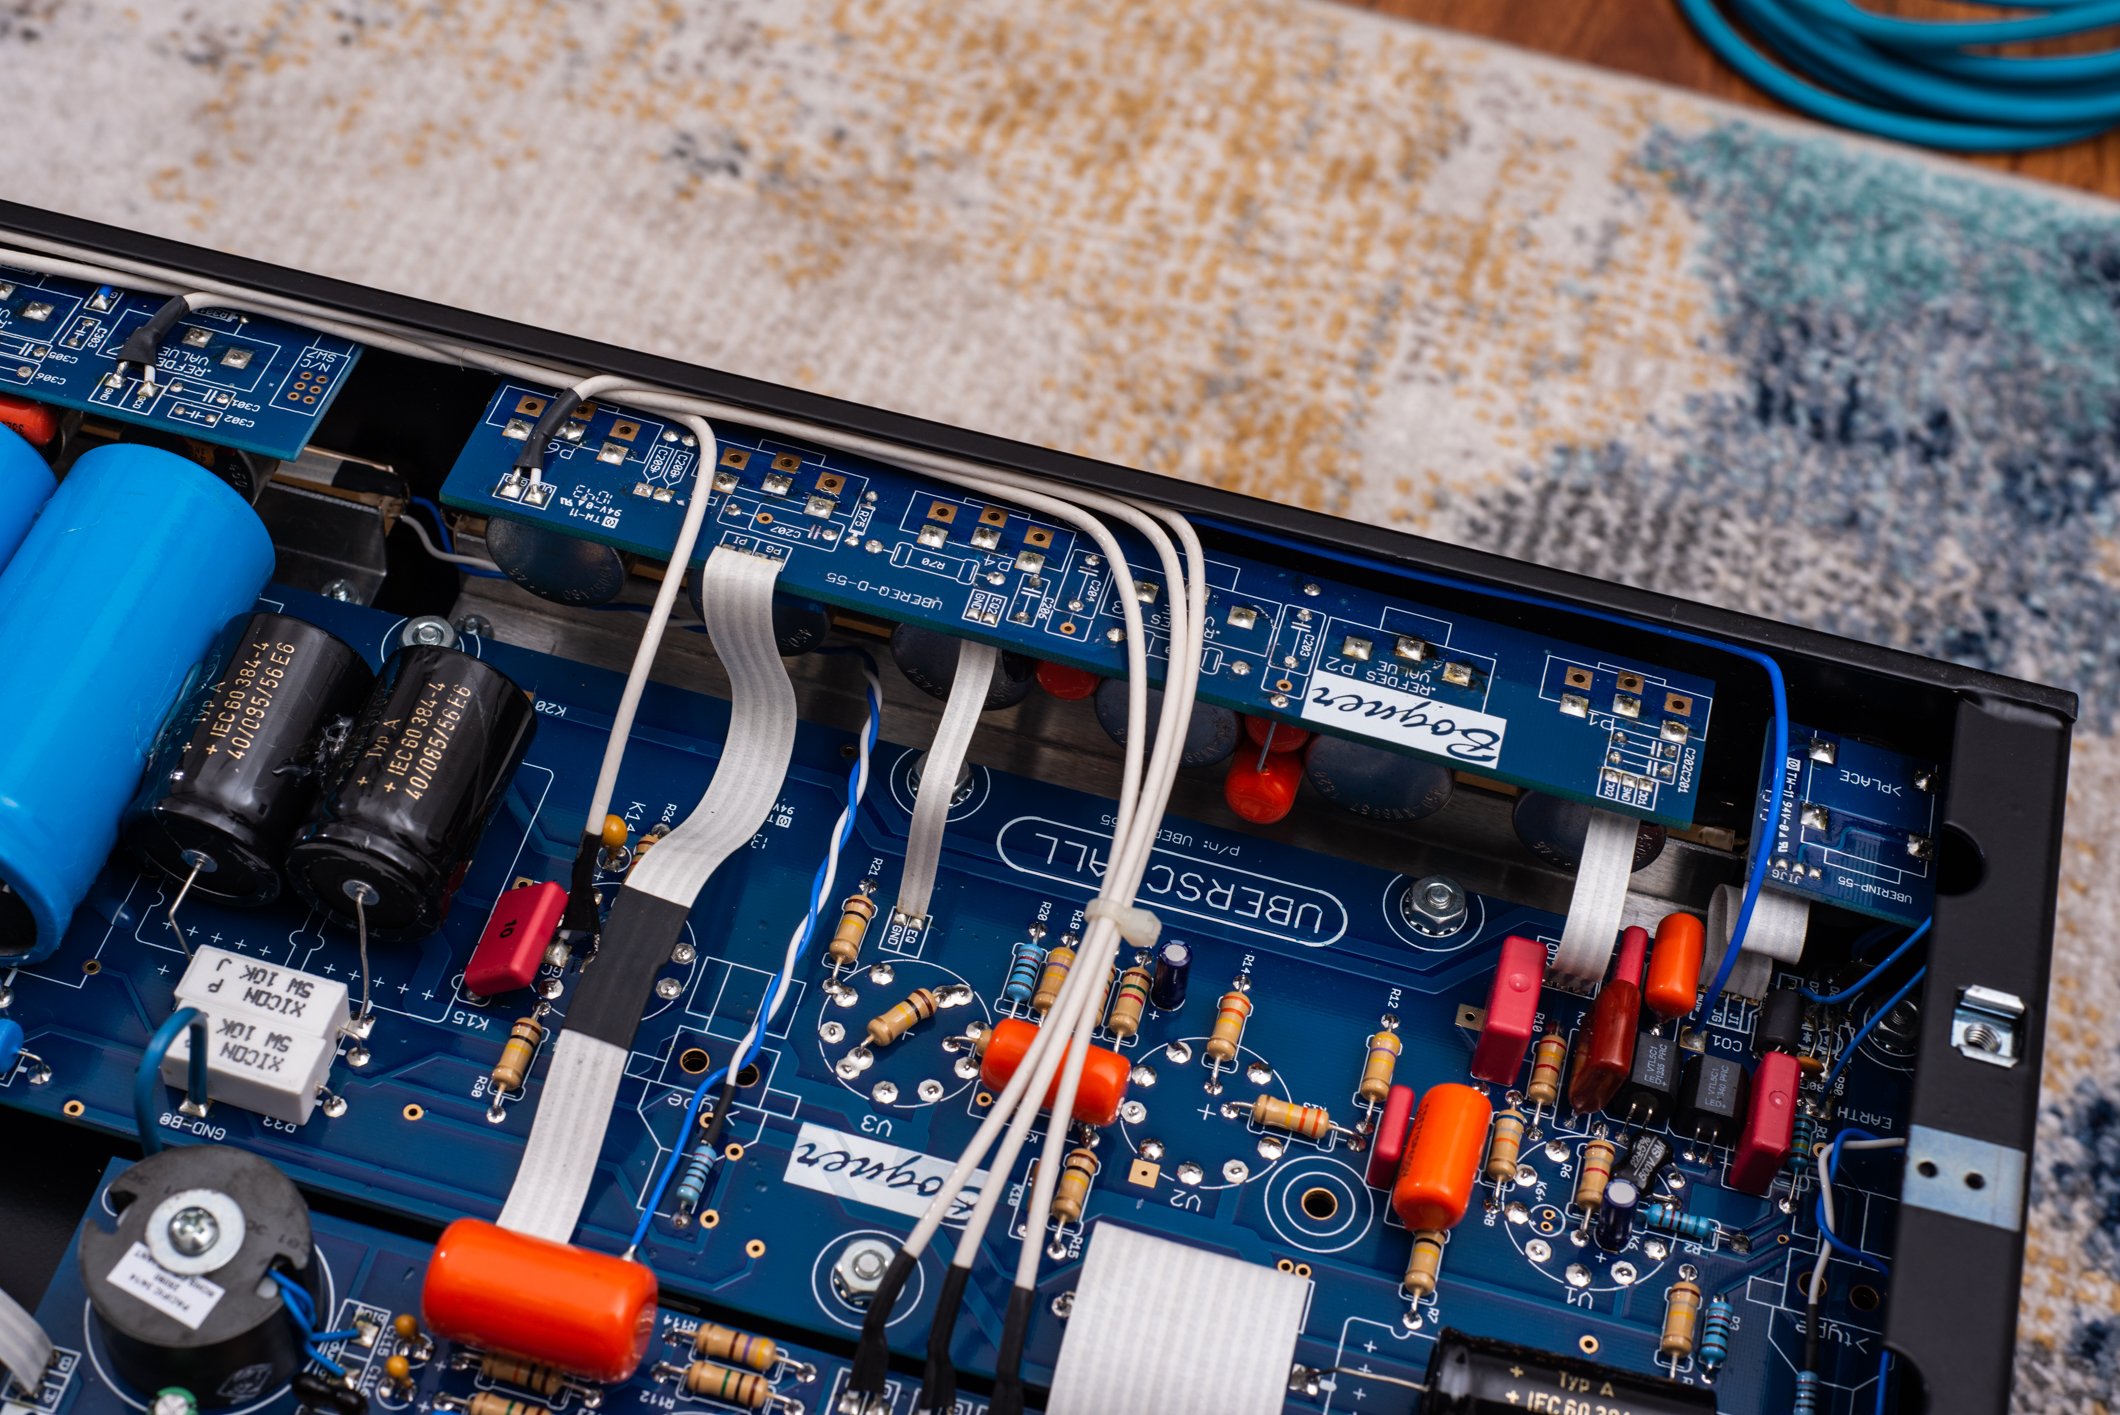
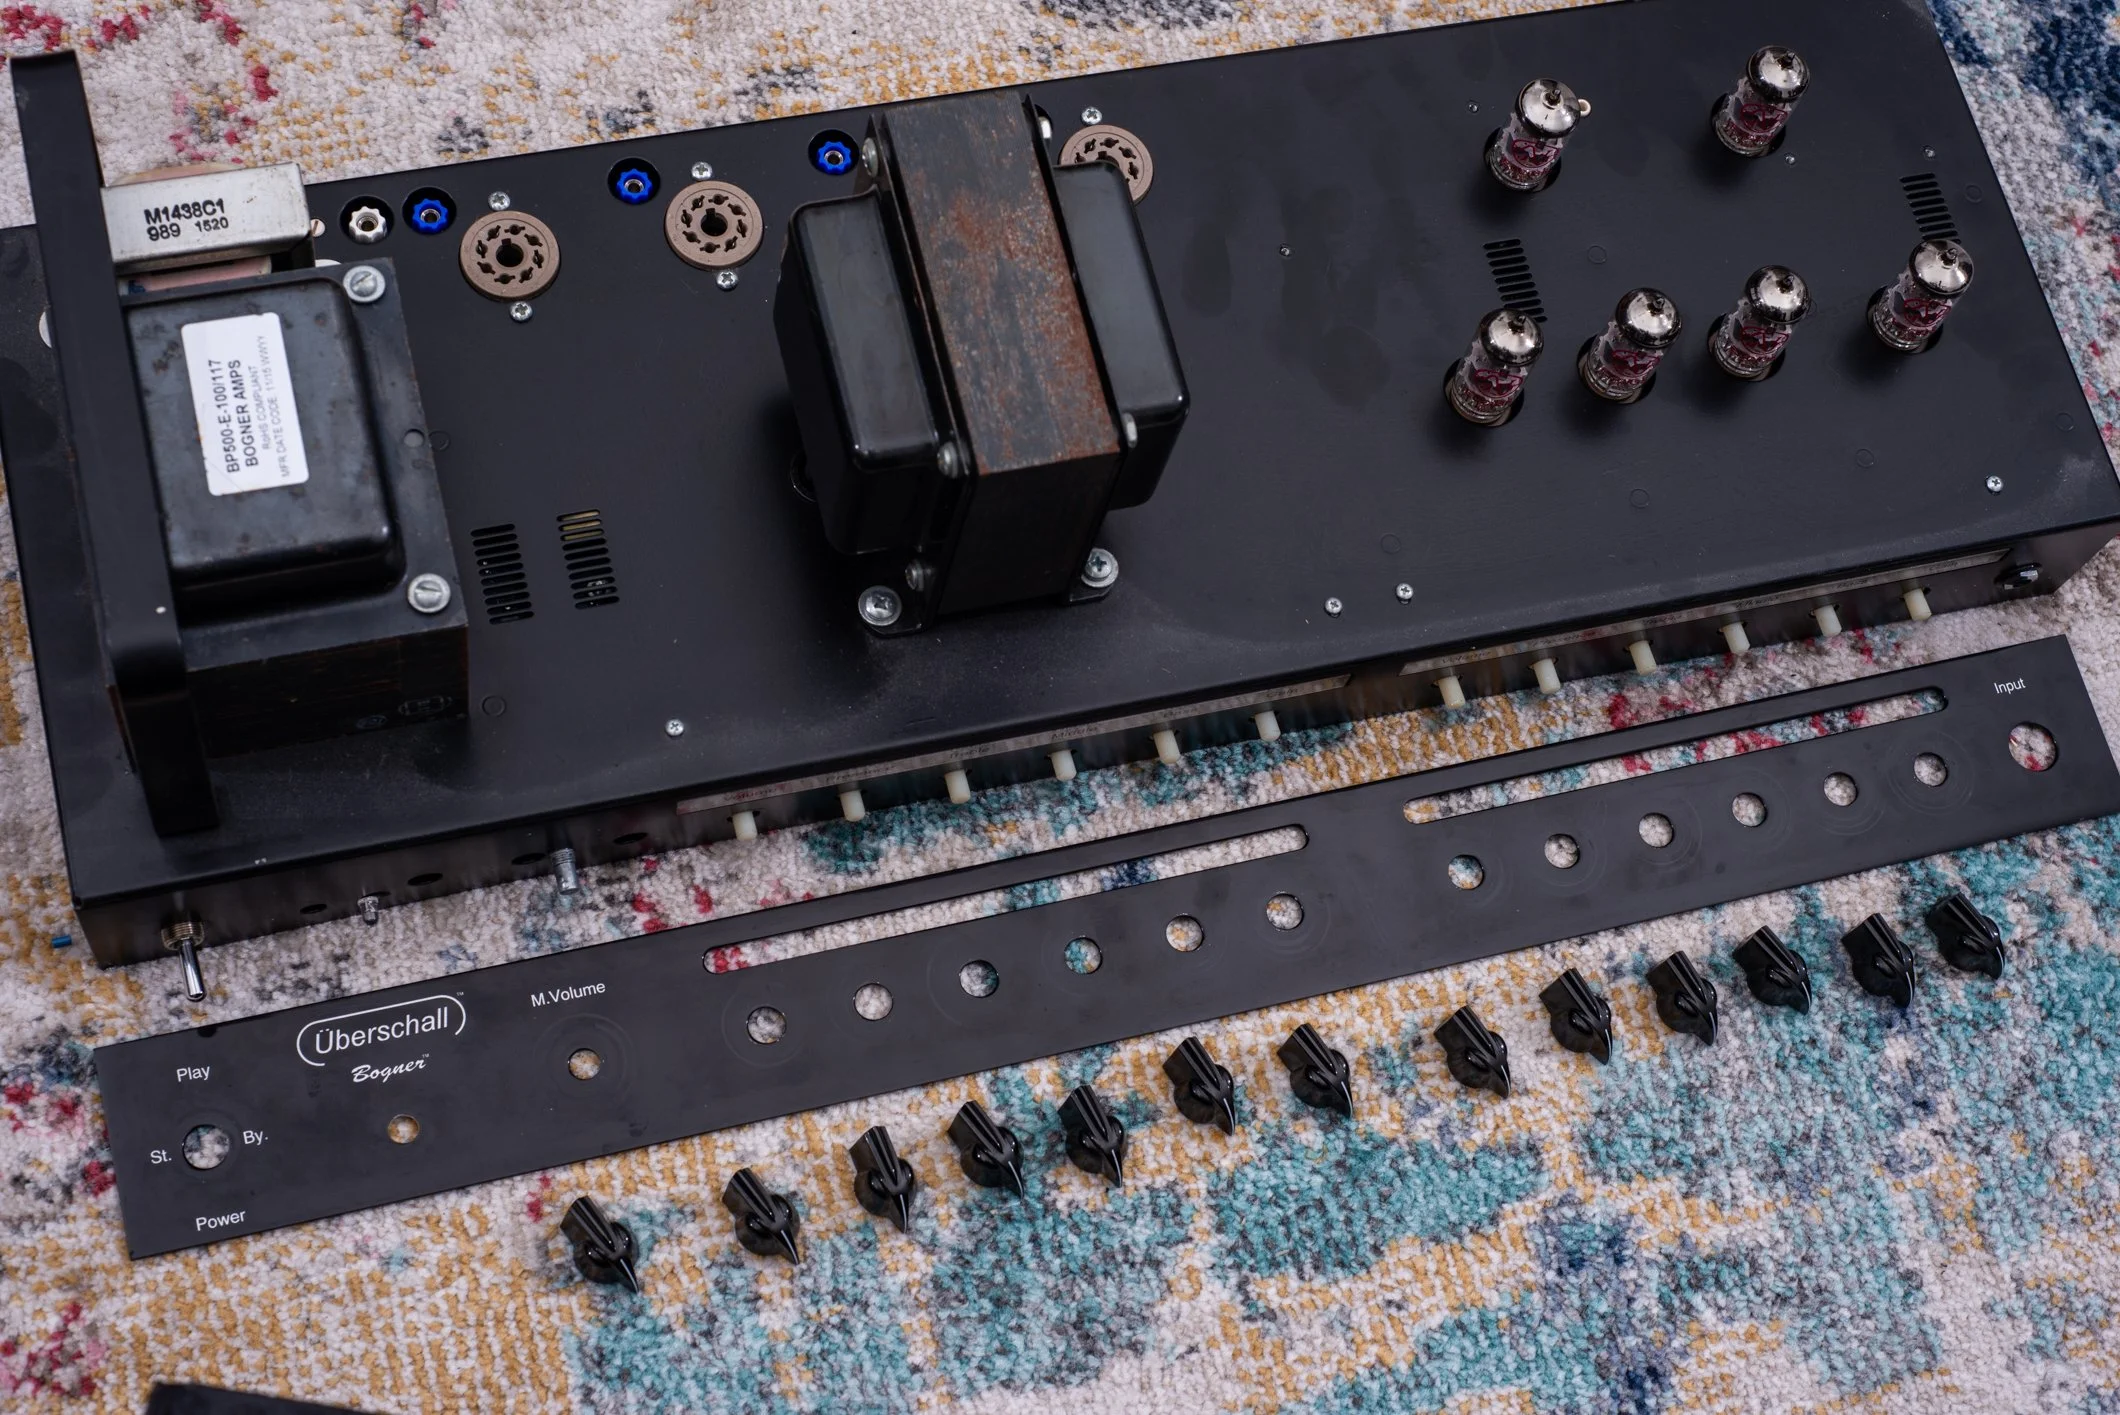
Upon opening this amp up to photograph it for this page, I discovered that this amp also had internal damage in the exact same spot as the Twin Jet! That means out of the two Uberschalls I have had, both had this problem - maybe it’s just bad luck, or terrible packing jobs or shipping/handling, but you can bet if I had another one (or had one and was reading this page) it might be worth taking a quick look to check. See the photos below - the two large blue capacitors are normally held in place by two zip ties which wrap around them underneath the PCB. You can see on the photo to the left that this zip tie is broken and from the sliding of the caps (they are only held on by their solder connections at the top) that they actually pushed the two black caps next to them over and bent their leads. That’s not good - could easily break connections or crack solder joints at the amp gets older and gets moved around or vibrated. I repaired this by cutting out the old zip tie and using a little bit of hot glue (you could also use clear silicon glue, which should pass UL/CE unlike hot glue). I placed some glue underneath the large caps and small dab in between them to hold them together. I also put some between the black caps and glued those caps to the blue cap next to it as well. The nice thing about hot glue and silicon glue is it can easily be scraped out if theses capacitors need to be replaced or repaired in the future. DO NOT use superglue or any other heavy duty adhesive in a repair like this, capacitors like this are wear components and will need to be replaced at some point, and you don’t want to damage the PCB especially 20+ years from now when you may not be able to find a replacement board! See the repaired photo on the right.
Note the broken zip ties around the blue capacitors and the way the two black capacitors are bent towards the left of the image.
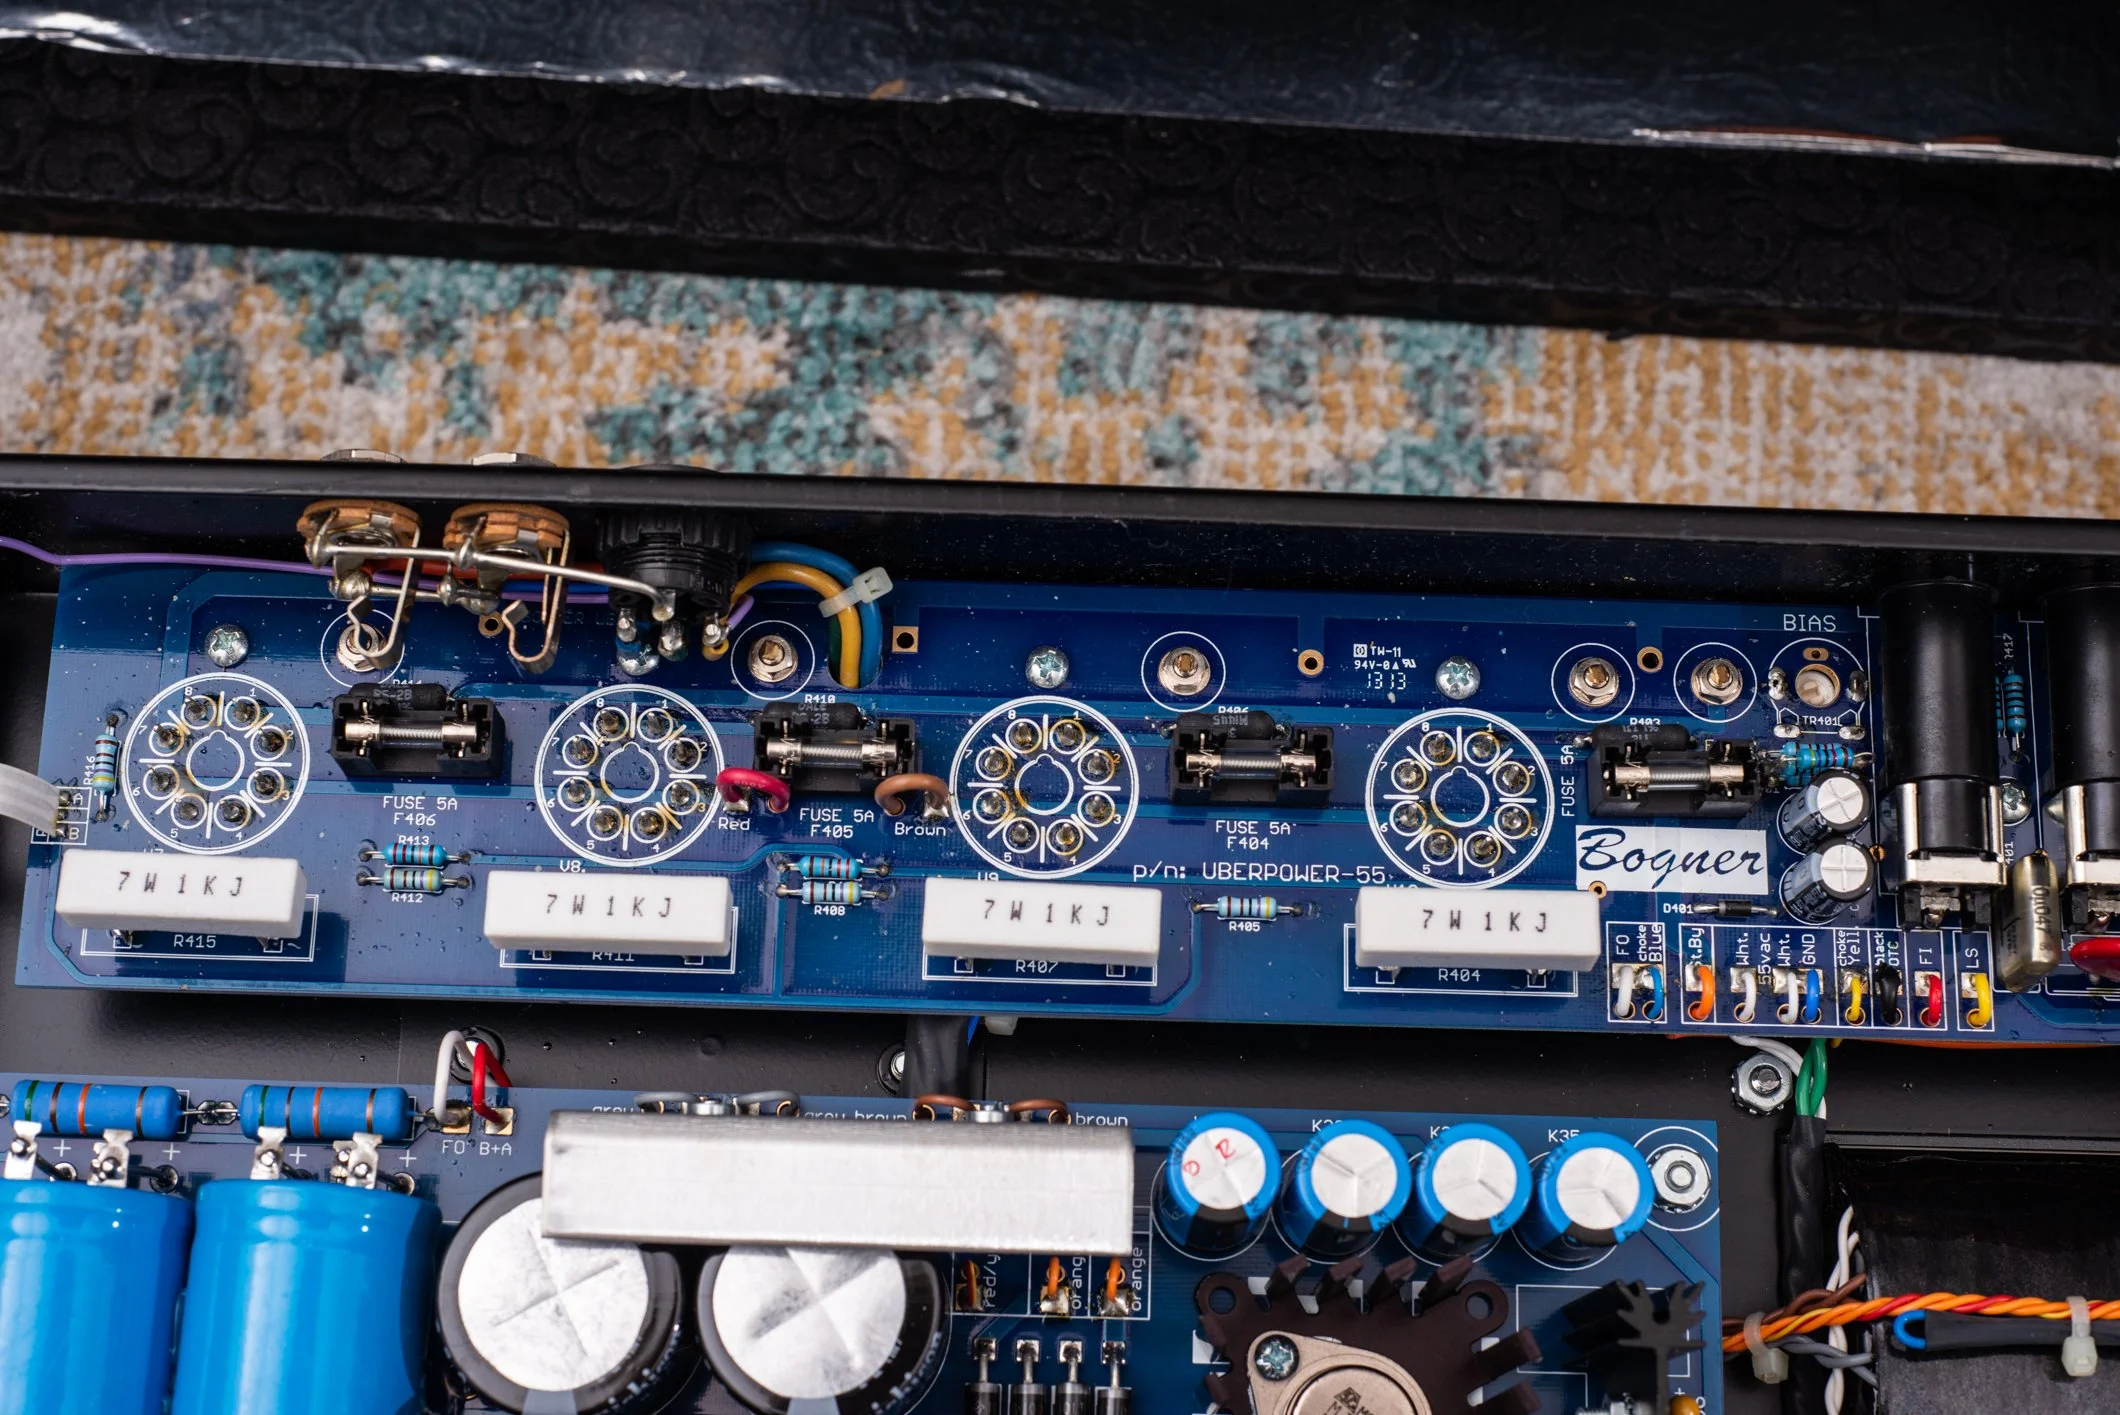
After repair, with some glue visible between the capacitors and more underneath the blue caps, holding them against the PCB itself.